If you’re looking to improve the sound quality in your home recording studio, acoustic foam tiles are a great option. They’re affordable, easy to install, and can make a big difference in the overall sound quality of your studio. In this blog post, we’ll walk you through the steps of installing acoustic foam tiles in your own studio.
Step One – Measure up
The first step is to measure the area you want to soundproof. Acoustic foam tiles come in a variety of sizes, so it’s important to know how much space you’re working with. Once you have your measurements, you can then choose the right size acoustic foam tiles for your project.
Step Two – Prepare the Surfaces
The next step is to prepare the surface you’ll be attaching the acoustic foam tiles to. If you’re working with a wall, you’ll want to make sure it’s clean and free of any debris. Once your surface is prepped, you can then start attaching the acoustic foam tiles.
Step Three – Prepare the Area for Installation
The next step is to prepare the area for installation. This means clearing away any furniture or obstacles that might be in the way. You’ll also want to make sure the surface is clean and free of dust before you begin.
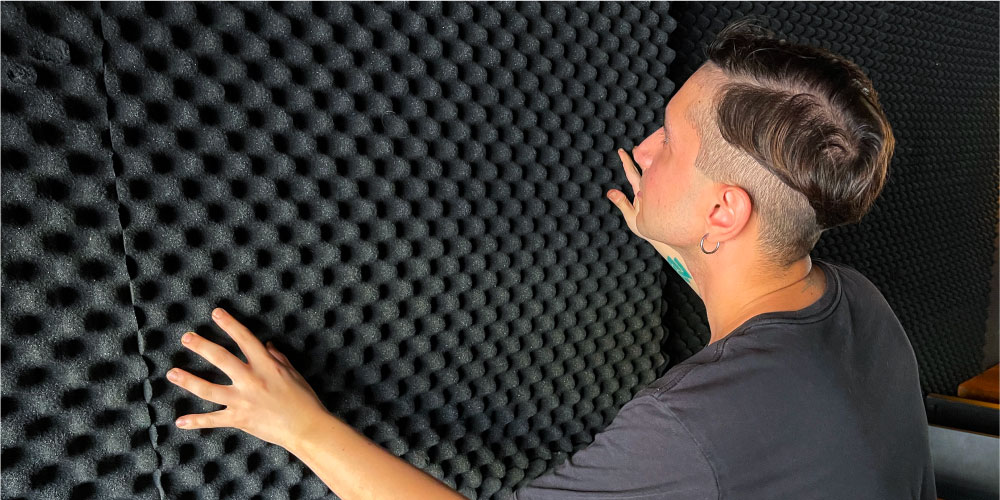
Step Four – Stick ’em up!
Once you’ve prepped the surface and cleared the area, you’re ready to install the acoustic foam tiles. The best way to do this is with a good quality spray adhesive. You can also use a glue gun or double-sided tape, but spray adhesive tends to work best. Simply apply the adhesive to the back of the acoustic foam tile and press it into place. Repeat this process until all of your tiles are in place. And that’s it! You’ve now successfully installed acoustic foam tiles in your recording studio. Enjoy your improved sound quality!